Type 2032

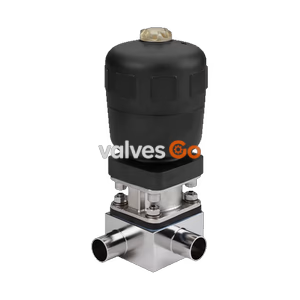
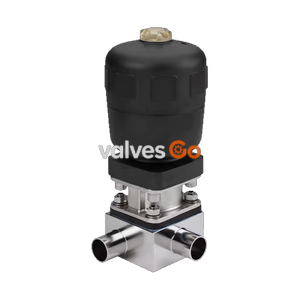
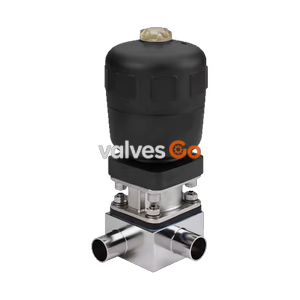
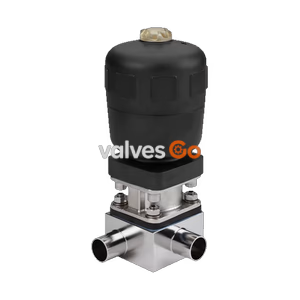
Burkert Type 2935 (SKU 20075522) manually operated tank bottom diaphragm valve. Features DN 65 flange connection, EPDM high-temperature diaphragm, and stainless steel body. Rated for 0-10 bar and up to 143°C.
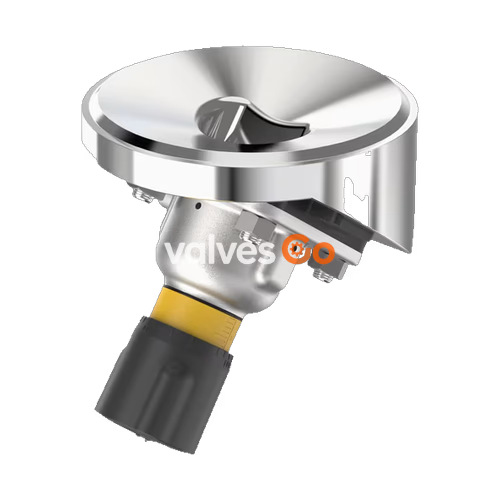
Burkert Type 2935 (SKU 20075522) manually operated diaphragm valve consists of a manually operated actuator, a diaphragm, and a tank bottom valve body. The manual actuator with a plastic or stainless steel handwheel is available with a diaphragm bonnet made of stainless steel or plastic, ensuring reliable use in hygienic or aggressive ambient conditions. The flow-optimised valve body with minimum dead space enables high flow values and a wide range of possible applications. The actuator has a compact, autoclavable design and is equipped with an integrated visual position indicator, a reproducible stroke scale, and an adjustable closing limiter.
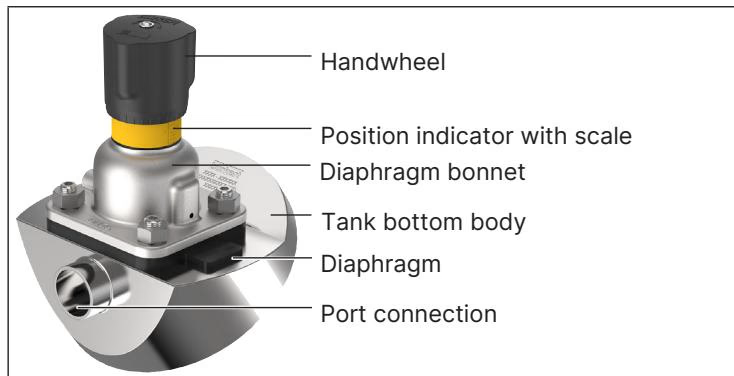
| Product Properties | Description |
|---|---|
| Block body (VH/VI) | Stainless steel block material 1.4435 according to DIN EN 10088 and 316L according to ASME BPE (Table MM-2.1.1, Ed. 2024) |
| Diaphragm | EPDM (AD), PTFE/EPDM (EA), advanced PTFE/EPDM (EU), laminate of GYLON® and EPDM (ER) |
| Actuator | Stainless steel/PPS, PPS/PPS, stainless steel/stainless steel |
| Standard surface quality | Internally electrically polished: Ra ≤ 0.38 μm (ASME BPE SF4/DIN HE4) (externally: Ra ≤ 1.6 μm) |
| Operating medium | Neutral gases and liquids, highly purified, sterile, aggressive or abrasive mediums |
| Medium temperature (EPDM) | -10...+143 °C (steam sterilisation + 150 °C for 60 min) |
| Ambient temperature | -10...+130 °C (short-term up to + 150 °C), autoclavable |
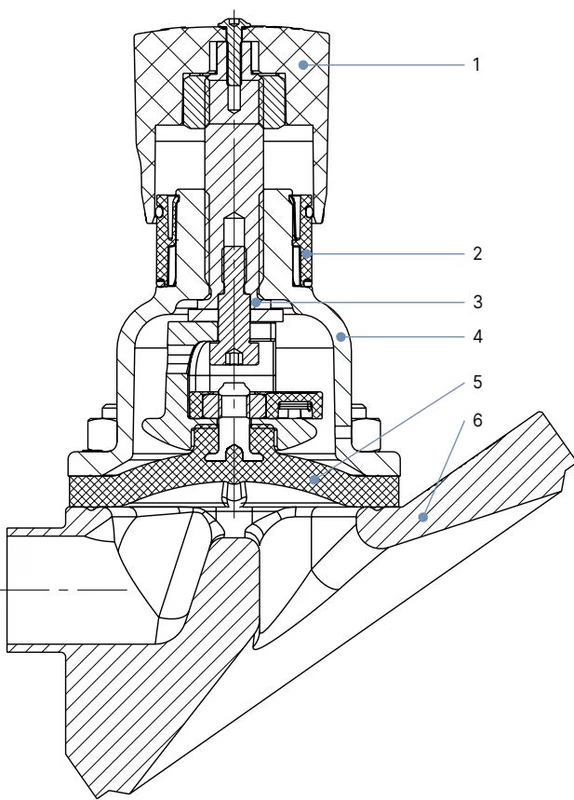
| No. | Element | Material |
|---|---|---|
| 1 | Handwheel | Polyphenylene sulphide (PPS), stainless steel 1.4308 |
| 2 | Visual position indicator | Polyamide (PA), stainless steel 1.4305 |
| 3 | Valve spindle | Stainless steel 1.4305 |
| 4 | Diaphragm bonnet | Stainless steel 1.4308, polyphenylene sulphide (PPS) |
| 5 | Diaphragm | EPDM (AD), PTFE/EPDM (EA), advanced PTFE/EPDM (EU), laminate of GYLON® and EPDM (ER) |
| 6 | Valve body | Stainless steel block material |
Explosion Hazard due to Electrostatic Discharge
If statically charged devices or persons discharge suddenly, there is an explosion risk in the potentially explosive area.
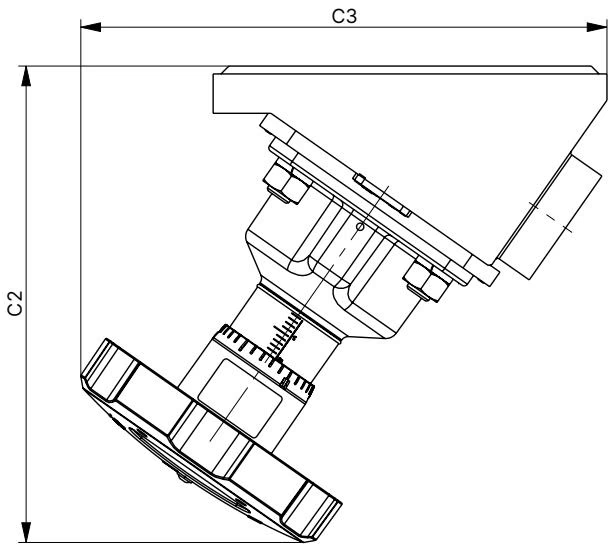
| Diaphragm size | C2 | C3 |
|---|---|---|
| 8 | 69 | 71 |
| 15 | 103 | 101 |
| 20 | 116 | 115 |
| 25 | 127 | 129 |
| 40 | 182 | 201 |
| 50 | 203 | 217 |
| 65 | 265 | 305 |
| 80 | 336 | 278 |
| 100 | 300 | 370 |
(Dimensions in mm, unless otherwise stated)

Risk of injury due to high pressure and escaping medium
Switch off the pressure before working on the device or system. Vent or empty the lines.
Recommendations for welding:
Preparation
The actuator and diaphragm must be dismantled before welding or bonding the valve body to prevent damage.
When used in accordance with the operating instructions, the actuator of the diaphragm valve is maintenance-free.
Inspection intervals:
Explore similar products in our catalog