
Up to 99.8% Efficiency

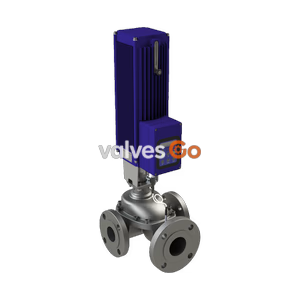
Burkert Type 3360 (SKU 20112677) 2-way electromotive angle seat control valve. Features stainless steel body, PTFE seal, 1 1/2" G thread, and 0-18 bar pressure range.
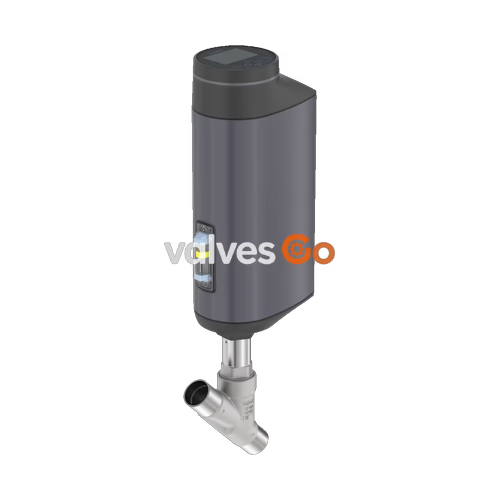
Burkert 20112677 Type 3360 is a 2-way electromotive angle seat control valve equipped with a positioner function and an analogue control unit. It features a stainless steel body, a PTFE seat seal, and a 1 1/2" G internal thread connection. Operating on a 24 V DC supply voltage, the valve handles nominal pressures from 0 to 18 bar and medium temperatures between -10 °C and 130 °C. The actuator delivers a driving force of 2500 N and provides IP65/67 and NEMA 4X protection.
| Feature | Value |
|---|---|
| Control function | Normally closed, with electrical energy storage |
| Port connection | 1 1/2" G internal thread |
| Supply voltage | 24 V DC |
| Nominal pressure | 0 bar to 18 bar (PN 25, Class 150) |
| Temperature medium | -10 °C to 130 °C |
| Kv value (water) | 36 m³/h |
| Actuator material | Aluminium powder-coated, PPS |
| Inputs / outputs | 1 analogue input + 1 digital input + 1 analogue output + 2 digital outputs |
| Closing time typical | 6.600 ms |
Safety Instructions
Risk of injury from high pressure. Before working on the system or device, switch off the pressure and vent or drain lines. Following an extended duty cycle or as a result of a hot medium, the surface of the device may become hot.
If the supply voltage is not applied, the valve position can be changed using the mechanical manual override.
WARNING
Maximum torque is 2 Nm. If the torque is exceeded on reaching the valve end position, the mechanical manual control will be damaged.
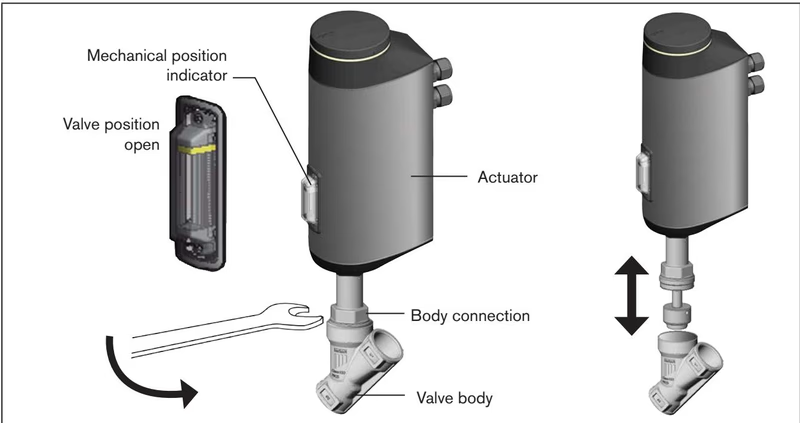
To prevent damage to the valve body or valve seat seal, the valve must be open when removing or mounting the actuator.
Removing the actuator:
Mounting the actuator:
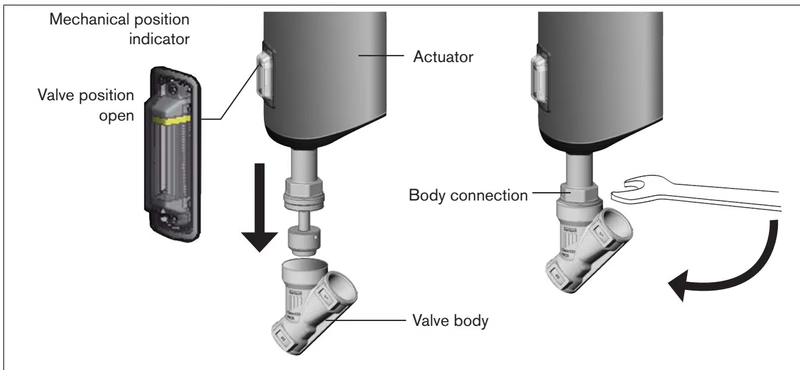
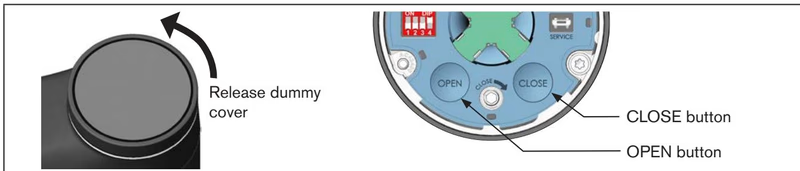
After mounting the actuator, run the X.TUNE function to adjust the position control to the physical stroke of the actuating element.
DANGER
Never run the X.TUNE under medium pressure. If the X.TUNE is run under medium pressure, the controller will be incorrectly adjusted, resulting in an uncontrolled process.
Explore similar products in our catalog