
Size 15

Genuine Spirax Sarco maintenance kits (4700088-4700688) for DP27 and DP27R pilot operated pressure reducing valves, DN15 to DN50 (1/2" to 2").
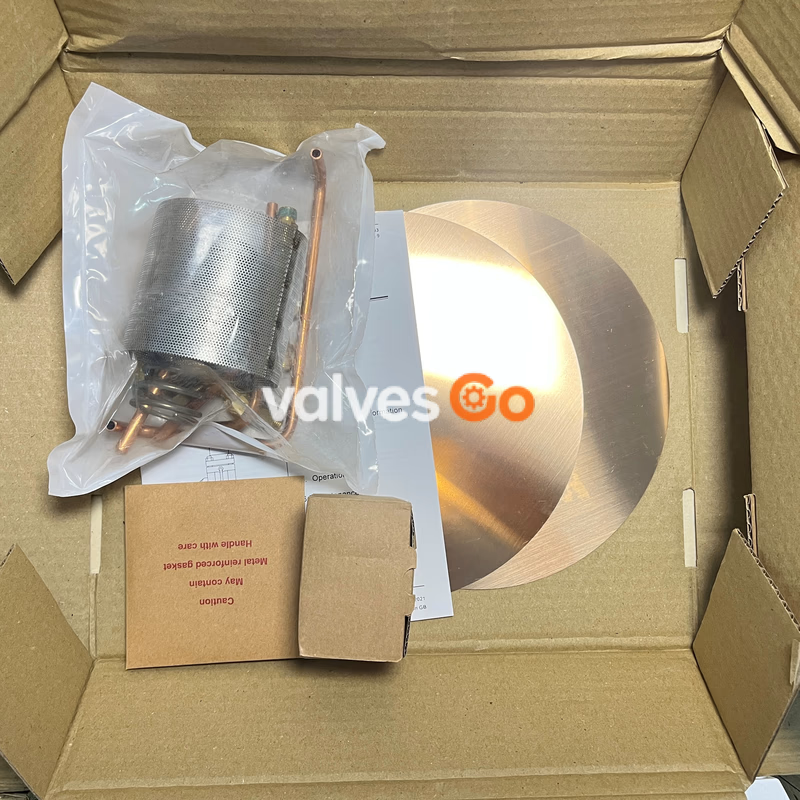
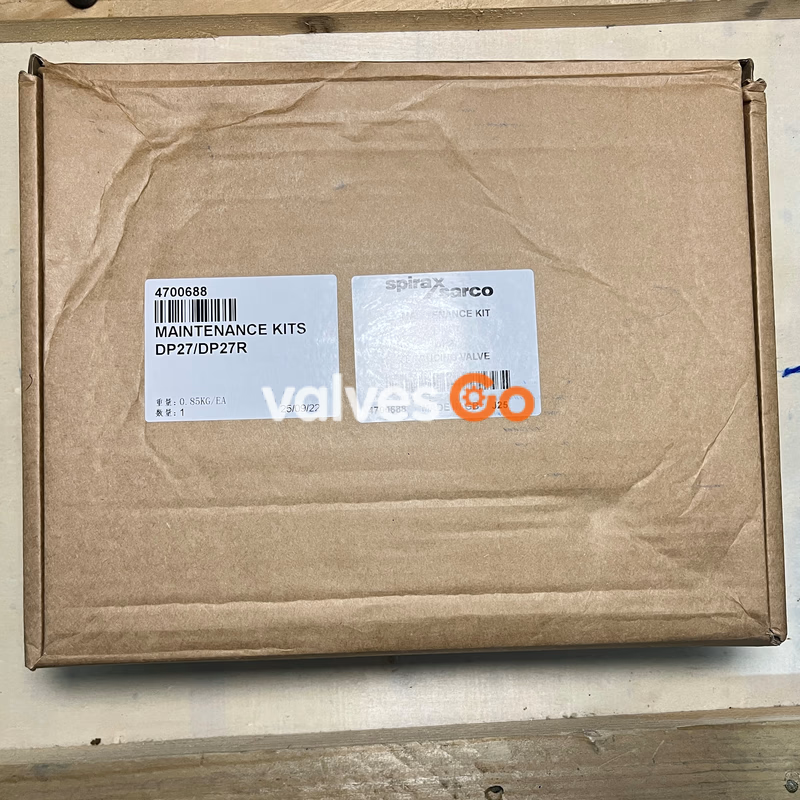
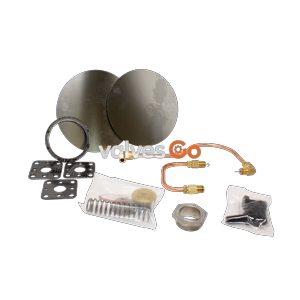
Spirax Sarco DP27 maintenance kits are genuine factory-packed sets of spares designed for the routine maintenance of DP27 and DP27R pilot operated pressure reducing valves. It is recommended that the valve is dismantled once every twelve to eighteen months for a complete overhaul, ideally carried out with the valve removed from the line. Genuine Spirax Sarco replacement parts ensure the continued safe and stable operation of the pressure reducing station.
Each maintenance kit is a stand-by set of spares covering all items required for routine maintenance of the DP27 / DP27R pressure reducing valve. When ordering, always state the size and type of the valve (e.g., Maintenance kit for a Spirax Sarco DN25 DP27).
| Kit contents | Item |
|---|---|
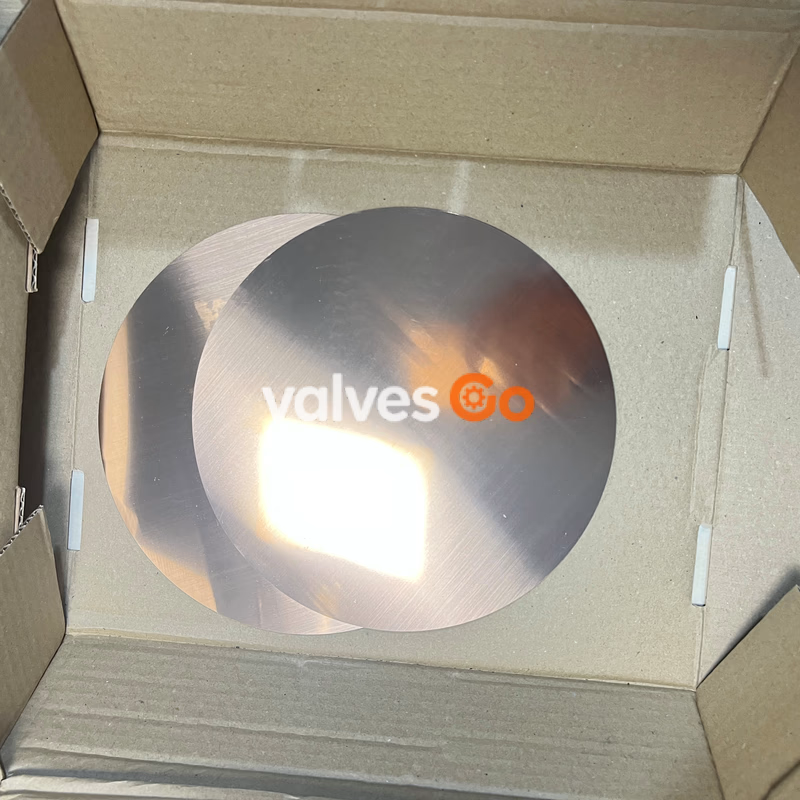
| Main diaphragm (2 off) | A |
| Pilot diaphragm (2 off) | B |
| Pilot valve assembly (with integral seal) | C or C1 |
| Internal strainer screen | M |
| Main valve return spring | N |
| Downstream pressure balance pipe assembly (internal pressure sensing pipe) | Q |
| Body gasket (3 off) | R |
The following table shows how in certain sizes some parts are interchangeable. For example, in the line headed 'Main diaphragm', the diaphragm used in the screwed valves 1/2" and 3/4" is common to these sizes by the letter 'a'; the letter 'c' indicates that one diaphragm is common to the DN40 and DN50 valves.
| Part | Screwed 1/2"LC | Screwed 1/2" | Screwed 3/4" | Screwed 1" | Flanged 15LC | Flanged 15 | Flanged 20 | Flanged 25 | Flanged 32 | Flanged 40 | Flanged 50 |
|---|---|---|---|---|---|---|---|---|---|---|---|
| Maintenance kit | a | a | a | b | f | f | a | b | c | d | e |
| Main diaphragm | a | a | a | b | a | a | a | b | b | c | c |
| Pilot diaphragms | a | a | a | a | a | a | a | a | a | a | a |
| Pilot valve assembly | a | a | a | a | a | a | a | a | a | b | b |
| Pilot filter element | a | a | a | a | a | a | a | a | a | a | a |
| Main valve assembly | a | b | c | d | a | b | c | d | e | f | g |
| Internal strainer screen | a | a | a | b | f | f | a | b | c | d | e |
| Main valve return spring | a | a | a | a | a | a | a | a | a | c | c |
| Pressure adjustment spring | a | a | a | a | a | a | a | a | a | a | a |
| Control pipe assembly | a | a | a | b | f | f | a | b | c | d | e |
| Balance pipe assembly | a | a | a | b | f | f | a | b | c | d | e |
| Body gasket | a | a | a | a | a | a | a | a | a | b | b |
| Pushrod and main diaphragm plate | a | a | a | b | a | a | a | b | b | c | c |
WARNING
Handling precautions for PTFE: Within its working temperature range PTFE is a completely inert material, but when heated to its sintering temperature it gives rise to gaseous decomposition products or fumes which can produce unpleasant effects if inhaled. Smoking should be prohibited in workshops where PTFE is handled because tobacco contaminated with PTFE will during burning give rise to polymer fumes.
DANGER
The body gasket (all DP27 derivatives) and actuating chamber gasket (DP27R) contains a thin stainless steel support ring which may cause physical injury if not handled and disposed of correctly. Always isolate the reducing valve and zero the pressure before actioning any maintenance programme.
Explore similar products in our catalog