PN16

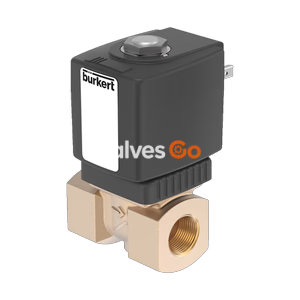
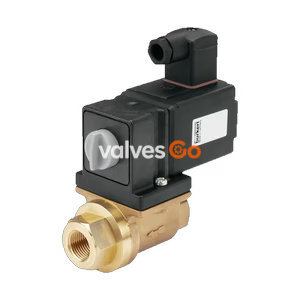
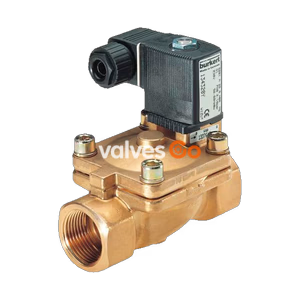
BURKERT Type 6213 servo-assisted 2/2-way diaphragm solenoid valve. Features a spring-coupled diaphragm for opening without differential pressure, high flow rate, and optional Kick and Drop coil.
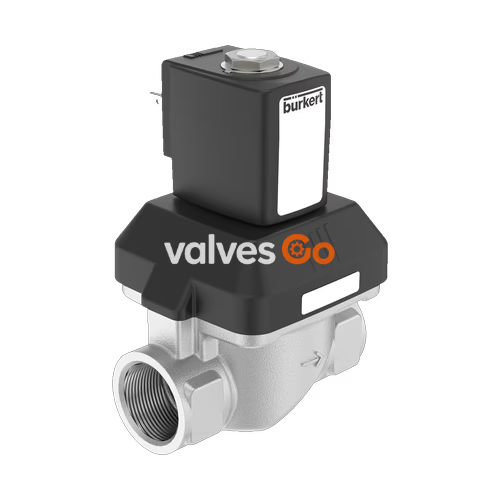
BURKERT Type 6213 is a servo-assisted diaphragm valve. The spring coupling of the diaphragm supports the opening process in the valve. In its standard variant, the valve is suitable for deployment with liquids. A minimum differential pressure is required for full opening. For gas and vacuum applications, a special variant is available (HP00) that opens the valve without differential pressure. Various diaphragm materials are available depending on the actual application. The body is available in brass, stainless steel, and gunmetal. To reduce electrical power consumption during operation, coils with integrated Kick-and-Drop (KD) electronics featuring double coil technology are available.
| Property | Value |
|---|---|
| Seal Material | NBR, FKM, EPDM |
| Body Material | Brass acc. to DIN EN 50930-6, Stainless steel 1.4408, Gunmetal (external thread) DN 10...DN 20 |
| Coil Material | Polyamide, epoxy (insulation class H) |
| Orifice | Standard: DN 10...DN 40 HP00: DN 13...DN 20 |
| Circuit Function | A (2/2-way valve, normally closed) |
| Duty Cycle | 100 % continuous operation; KD coil max. 6 switching cycles/minute |
| Operating Voltage | Standard: 24 V DC, 24 V 50 Hz, 230 V 50 Hz, 110 V 50 Hz, 120 V 60 Hz HP00: 24 V DC, 24 V 50/60 Hz, 230 V 50/60 Hz |
| Voltage Tolerance | ±10% |
| Degree of Protection | IP65 with cable plug Type 2518 (IP67 on request) |
The sectional view shown corresponds to the standard variant (DN 20). For other variants and nominal diameters, the sectional view varies.
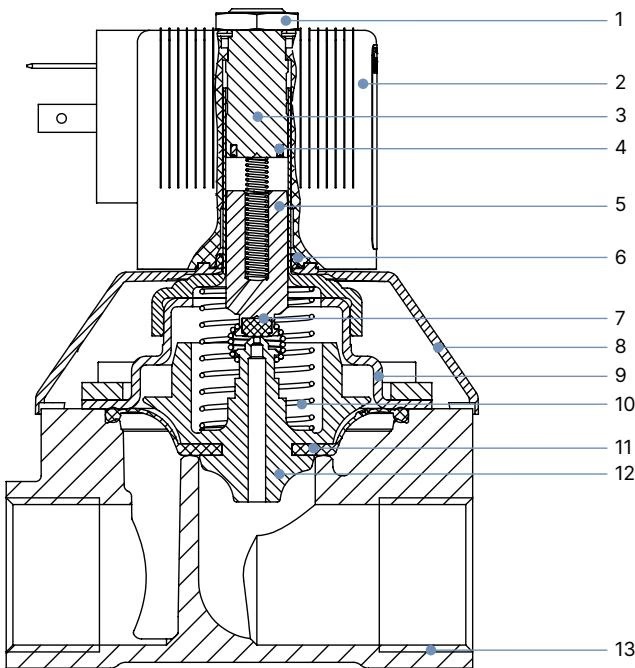
| No. | Element | Material |
|---|---|---|
| 1 | Nut | Steel (thick-film passivated according to RoHS), Stainless steel 1.4305, PTFE-coated |
| 2 | Coil | Polyamide or epoxy |
| 3 | Stopper | Stainless steel 1.4113 |
| 4 | Shading ring (only AC variant) | with brass body: copper (Cu) with stainless steel body: silver (Ag) |
| 5 | Magnetic core | Stainless steel 1.4113 |
| 6 | O-ring | FKM |
| 7 | Plunger seal | NBR, FKM, EPDM |
| 8 | Bonnet | PA6 |
| 9 | Cover | DN 10...DN 25: stainless steel 1.4301 DN 40: brass, stainless steel 1.4408 |
| 10 | Spring | Stainless steel 1.4310 |
| 11 | Diaphragm | NBR, FKM, EPDM |
| 12 | Diaphragm support | PPSGF40 in combination with brass and accordingly stainless steel parts |
| 13 | Valve body | Brass, stainless steel 1.4408, Gunmetal with external thread |
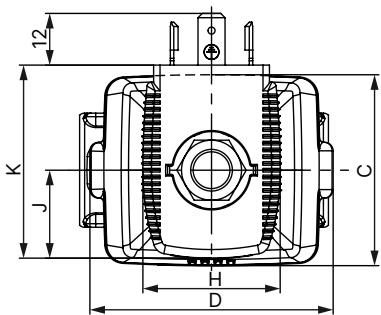
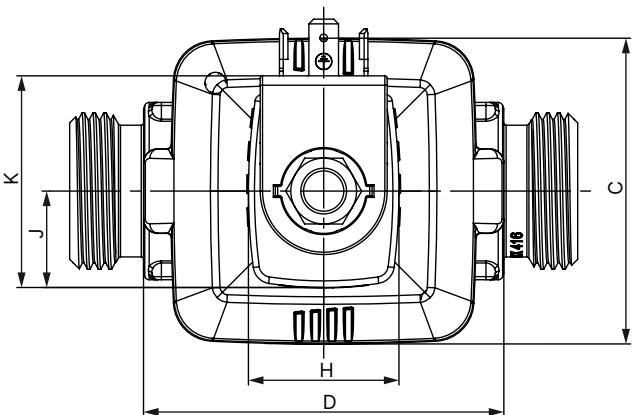
DANGER!
Risk of injury from high pressure in the system
Risk of injury from electric shock
WARNING!
Risk of injury due to improper installation
Risk of injury from unintentional activation of the system and uncontrolled restart
NOTICE!
Breaking hazard
Explore similar products in our catalog