PN16

The BURKERT 20026311 Type 8640 is a 19mm 2-bank modular valve island. It features a G 1/8 pressure port, D6 working port, and operates between 2 to 8 bar at 0 to 50 °C with IP20 protection.
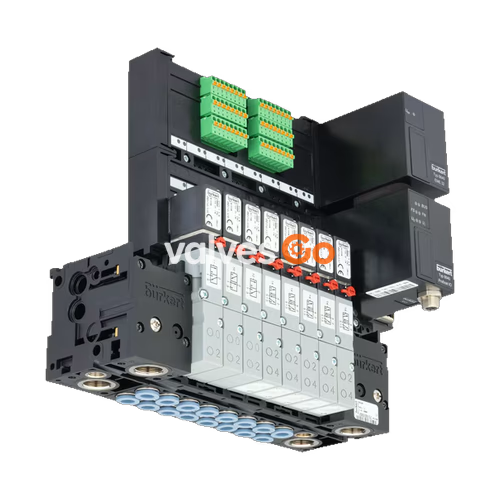
The BURKERT 20026311 Type 8640 is a modular valve island designed for pneumatics, featuring a 19 mm width per station and a 2-bank configuration. The system is constructed to solve diverse control problems through its systematic modular design. The bodies and connection modules are manufactured from polyamide (PA) and are assembled using built-in snap connectors. This specific model operates within a pressure range of 2 to 8 bar and supports medium temperatures from 0 °C to 50 °C. It utilizes a G 1/8 pressure port and a D6 working port, providing a flow rate of 300 l/min (measured at +20 °C, 6 bar pressure at valve inlet, and 1 bar differential pressure).

The 19 mm width per station variant of the Type 8640 valve island utilizes the Type 5470 solenoid valve. The valve consists of a pneumatic valve body fitted with a Type 6106 rocker pilot valve. An armature with a tilting bearing tilts within the body of the pilot valve to switch the valve. The minimal tilting movement of the rocker is non-wearing, and basic lubrication is unnecessary.
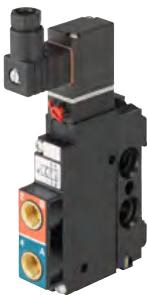
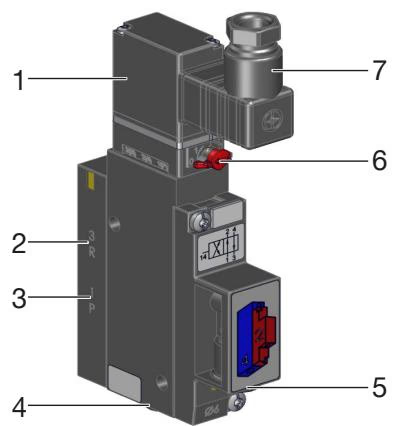
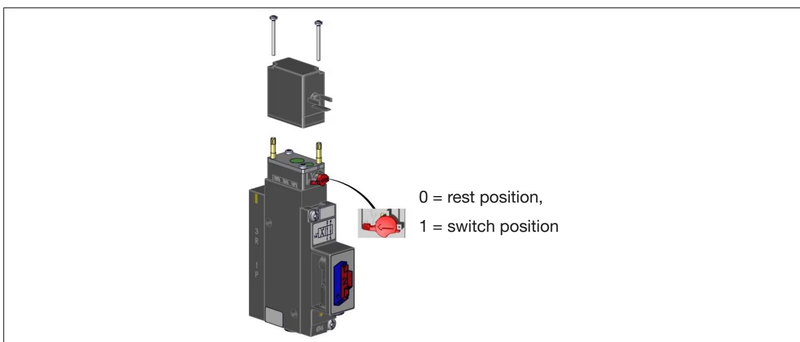
To operate the valve manually, press the manual override and turn it 90° clockwise until it stops. The manual override is locked and does not reset automatically. Only operate the manual override when the power is off.
The Type 5470 valves support the following circuit functions:
To convert the 4/2-way valve to a 3/2-way valve, close port 2 or port 4 with a stopper depending on the desired circuit function.
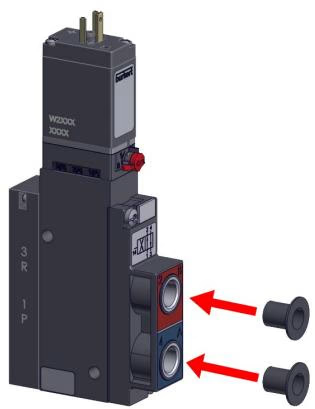
| Port 2 | Port 4 | Circuit function |
|---|---|---|
| closed | open | C |
| open | closed | D |
INFO
Pilot pressure for the pneumatic control unit depends on the pressure of the flow medium; it must be between 2 and 10 bar (at least 70% of operating pressure).
WARNING
A pressure difference between port 1 and 3 of at least 2 bar is required. When temperatures are below 0 °C, operation is restricted to dried air.
Valves are delivered fully assembled. If the location of the solenoid of the pilot valve is not suitable for installation, the solenoid can be rotated 180°.
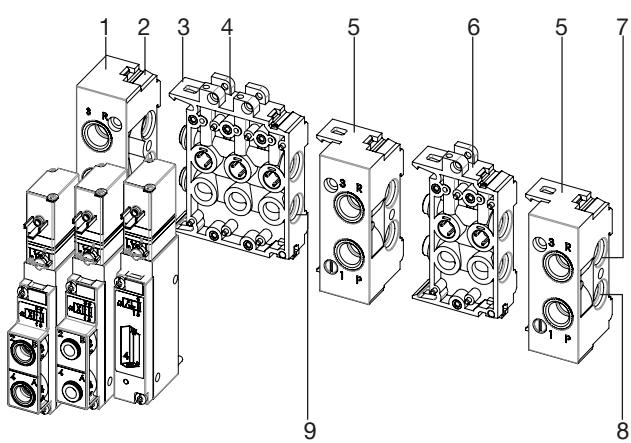
WARNING
Crushed O-rings and profile seals lead to leaky blocks.
Fasten each valve to the base module with 2 screws. The recommended tightening torque is 0.6 ±0.1 Nm.
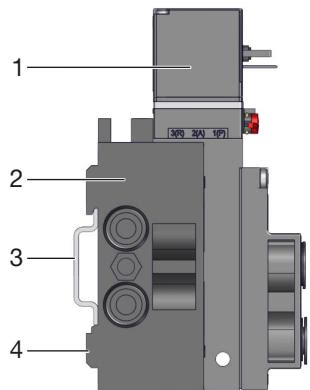
Standard rail installation:
Wall installation: Fasten the valve block directly to the wall with M4 screws.
| Port size | Marking/function | Recommended tightening torque [Nm] | Maximum tightening torque [Nm] |
|---|---|---|---|
| G1/4, NPT1/4 | P, R/S connection | 4...7 | 20 |
| G1/8, NPT1/8 | P, R/S connection, A/B valve outlets | 3...6 | 7 |
TIP
If continuous operation is interrupted, a minimum activity of 1-2 switching operations per day is recommended for the duration of the downtime to ensure functional reliability.
| Fault | Possible cause | Remedy |
|---|---|---|
| Valves do not switch | No operating voltage or operating voltage too low | Check electrical connection. Ensure operating voltage according to type label. |
| Manual override not in zero position | Bring manual override to zero position. | |
| Pressure supply insufficient or not available | Set up large-volume pressure supply. Minimum operating pressure ≥ 2 bar. | |
| Valves switch with a delay or blow off at the exhaust ports | Insufficient ventilation of the exhaust air ducts due to too small or dirty silencers | Use suitably sized silencers or expansion vessels. Clean the dirty silencers. |
| Impurities or foreign matter in the pilot or pneumatic valve | Apply pulsed pressure to the exhaust air ducts to blow out the impurities. Install a new pilot or pneumatic valve. | |
| Leaky valve blocks | Missing or crushed O-rings between the modules | Identify leak or missing seals. |
| Missing or incorrectly positioned flat seals between valve and base plate | Insert missing seals or replace damaged seals. |
Explore similar products in our catalog