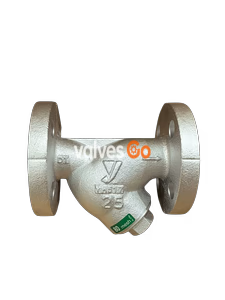
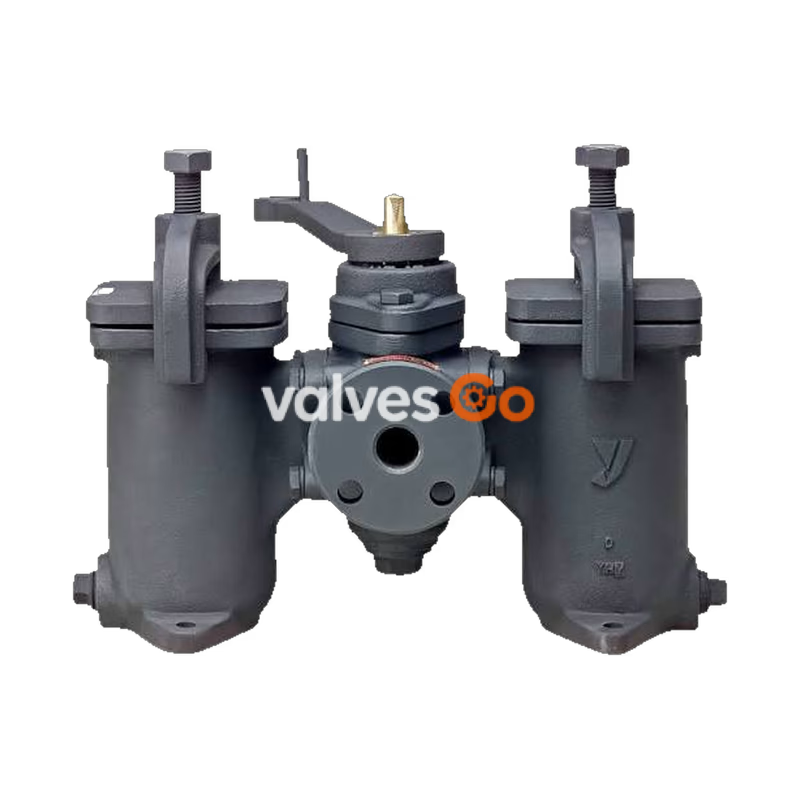
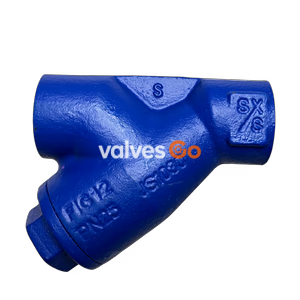
Yoshitake SW-10S is a duplex strainer designed for cold and hot water, oil, and other non-dangerous fluids. It allows for cleaning without stopping the filtrated fluid by switching between the left and right units. The strainer features a cock lifting mechanism that makes handle operation easy, and a simply structured cover that can be fixed and removed by tightening or unfastening a single bolt.
Features
- Cleanable without stopping the filtrated fluid by switching the left and right units.
- Cock lifting mechanism (switching by lifting the cock) makes handle operation easy.
- Since there is no need to install a bypass, piping space can be minimized.
- Disassembling and cleaning are easy due to a simply structured cover that can be fixed and removed simply by tightening or unfastening a single bolt.
Specifications
INFO
- Available with stainless steel (Cock SCS14) made. (Arm for SW-10S is FCD, bolt is SS).
- Available with 20 to 150 mesh screen. Please contact us of over 150 mesh.
- There may be some acceptable range of leakage since the cock is metal seal.
- When switching the cock, the scale and foreign material from the gap between the cock and body may flow to the outlet side.
| Application | Cold and hot water, Oil, Other non-dangerous fluids |
|---|
| Maximum pressure | 1.0 MPa |
| Maximum temperature | 80°C |
| Body Material | Ductile cast iron |
| Cock Material | Stainless steel |
| Screen Material | Stainless steel |
| Screen Perforation | φ6-9P |
| Screen Mesh | Standard 60 mesh |
| Connection | JIS 10K FF flanged |
Dimensions and Weights
INFO
- Dimensions H1, H, K, A, and Ha are reference values.
- The values of H1, H, and Ha are different from those of stainless steel made.
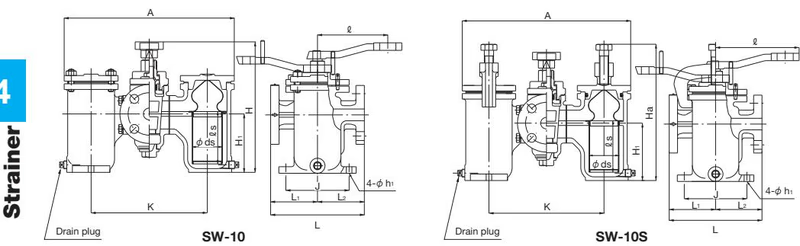
| Nominal size | L | L1 | L2 | H1 | H | Ha | A | R | ds | ls | Anchor space K | Anchor space h1 | Drain plug | Weight (kg) |
|---|
| 20A | 200 | 100 | 100 | 126 (124) | 280 (278) | 294 (292) | 363 | 180 | 64.5 | 108 | 135 | 248 | 12 | 26.7 |
| 25A | 200 | 100 | 100 | 126 (124) | 280 (278) | 294 (292) | 363 | 180 | 64.5 | 108 | 135 | 248 | 12 | 27.9 |
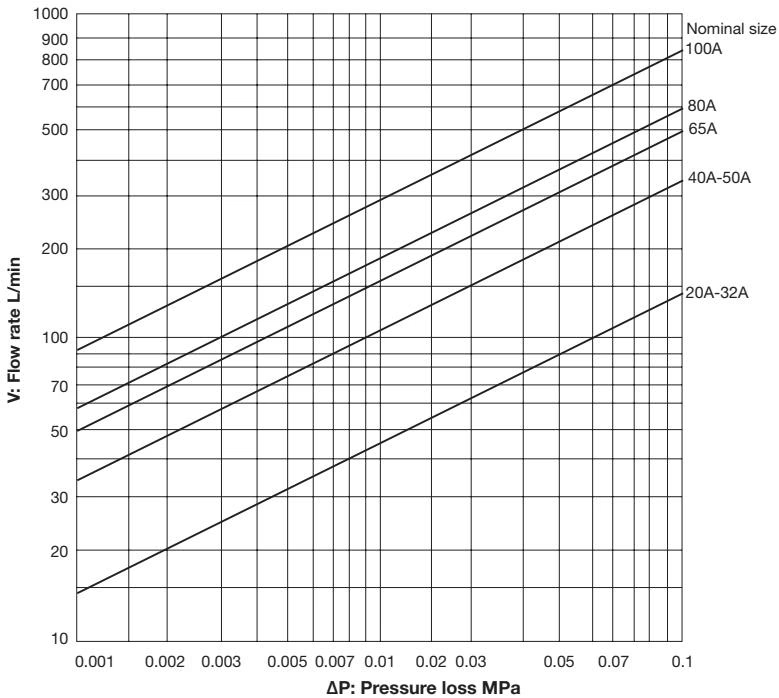
Pressure Loss
TIP
Screen: Perforation = φ6-9P, Mesh = 60 mesh.
Piping
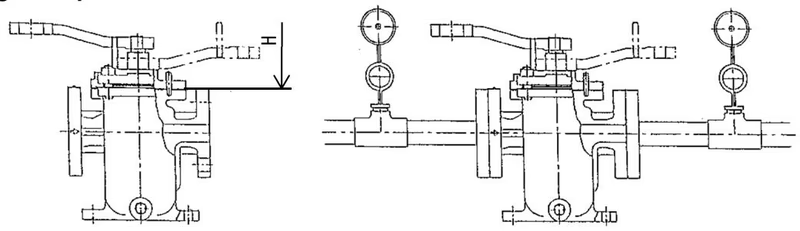
WARNING
- To install the product, check the direction of the product so that the fluid flowing and the arrow marked on the product are in the same direction. Wrong direction prevents fluid from flowing.
- The product may be deformed by too much stress from the piping. During installation, please secure enough space for maintenance and inspection (including cleaning of the screen).
- Upon installing the product, please make sure that unnatural force, bending, or vibration will not be transmitted to the products. Make sure to install the products firmly to the piping.
| Size | H Clearance |
|---|
| 20-32A | More than 200 |
| 40-50A | More than 250 |
| 65-80A | More than 300 |
Operation
DANGER
Please make sure that there is no danger at the pipe end before use. You may get scalded in case hot fluid spouts out. Physical damage may occur from fluid outflow.
WARNING
- Use the strainer in condition of maximum pressure loss of below 0.1MPa. Also keep cleaning the screen periodically.
- Always follow the sequence when switching the cock.
- There are some allowable leakages from the cock, so when cleaning the screen, please take off the plug under the screen case, and install the blow valve to release the fluid to a safe place.
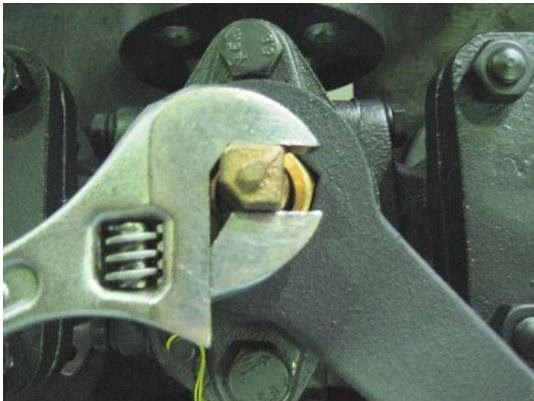
- When cock and adjusting screw are stuck and they turn at the same time, please fix the cock with wrench and turn the adjusting screw.
- Do not tighten the adjusting screw with excessive torque.
Operation Method:
WARNING
- While switching the cock, make sure to operate as following order. Switching without pulling up the cock may cause damage.
- When switching the cock, foreign substances and scales may flow from the gap between the cock and the main body to the outlet side.
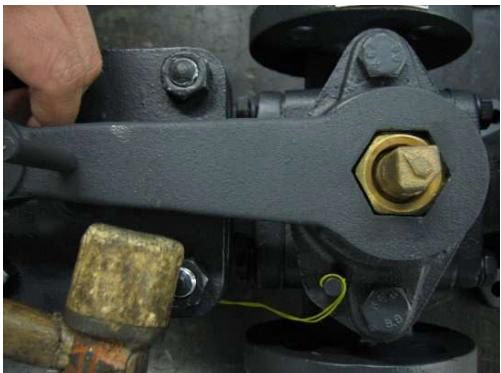
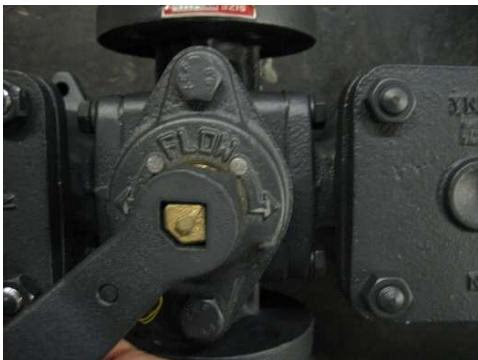
- Fit the handle to hexagonal adjusting screw and turn clockwise to unlock. It may be hard to do so because the cock and adjusting screw are tightened together. In this case, hit the handle with plastic hammer (Do not use iron hammer). Turn the adjusting screw clockwise one or two times.
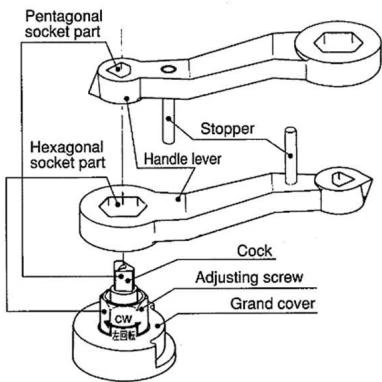
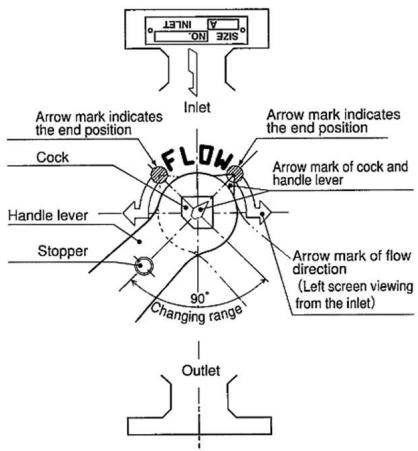
- Fit the pentagon hole of the handle to the cock. (Stopper is facing downward) and switch the cock right or left. Match the arrows on the cock and handle with the arrow end on the screen side to be used. Turn until the handle stops by the stopper.
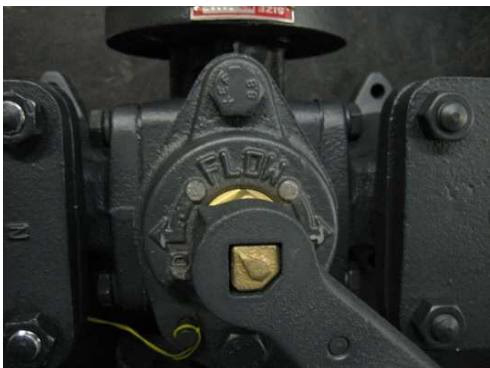
- After switching, fit the adjusting screw to the hexagon hole on the handle and turn counterclockwise. When cock and adjusting screw turn at the same time, please fix the one side with the wrench. Please tighten the adjusting screw with provided handle.
Maintenance
DANGER
Prior to carrying out the maintenance and inspection, make sure that the pressure inside of the strainer or piping system decrease to the atmospheric pressure.
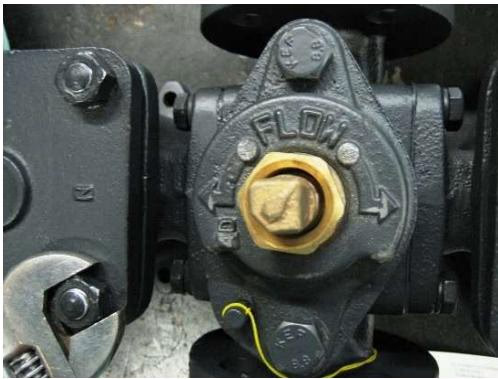
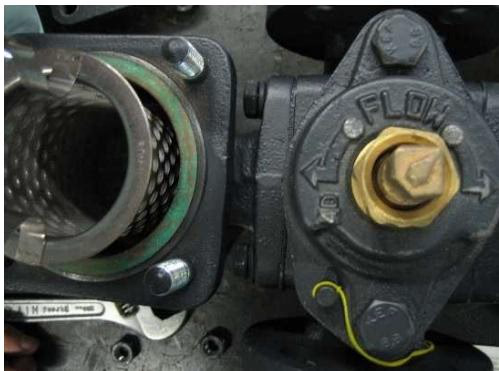
Cleaning the screen: When cleaning the screen, check the direction and make sure that fluid is not passing. Open the cap which the fluid is not passing through, remove the screen, and clean with compressed air and cleaning detergent. Do not remove the screen by force when screen is stuck on screen case due to scale and rust.
| Trouble | Cause | Remedy |
|---|
| Fluid does not flow. | 1. Screen is clogged.
2. Stop valve at inlet and outlet are shut-off.
3. Installation direction is wrong. | 1. Disassemble and clean the screen.
2. Open the stop valve.
3. Confirm the arrow on the product and install correctly. |
| Pressure loss is excessive | 1. Screen is clogged.
2. Pressure gauge is damaged.
3. The nominal size is too small for the actual flow rate. | 1. Disassemble and clean the screen.
2. Replace pressure gauge.
3. Use strainer with larger nominal size. |
| Foreign substance is not removed | 1. Screen is damaged. | 1. Disassemble the strainer and change the screen. |
| Cover cannot be removed upon changing screen. | 1. The inside of the product is vacuum. | 1. Break the vacuum inside the pipe and remove cover. |
| Leakage at outside | 1. Gasket, O-ring is damaged.
2. U-packing is damaged. | 1. Replace the gasket and O-ring.
2. Product needs to be disassembled and parts replaced. Contact us. |
Assembly after Disassembly
WARNING
- Clean the contacting surface of the screen case and cover. Make sure that O-ring is attached properly. If the O-ring is not installed properly, O-ring may be damaged and can result in outer leakage.
- In case O-ring is damaged or deteriorated, replace to new O-ring and apply grease on it.
- Clean the O-ring contact surface of the screen case and cover, and install the O-ring to the groove of the cover. At this time, attach the O-ring so that it does not protrude from the O-ring groove.
- Install cleaned screen into the screen case and attach to the cover. Tighten the hexagon bolt.